


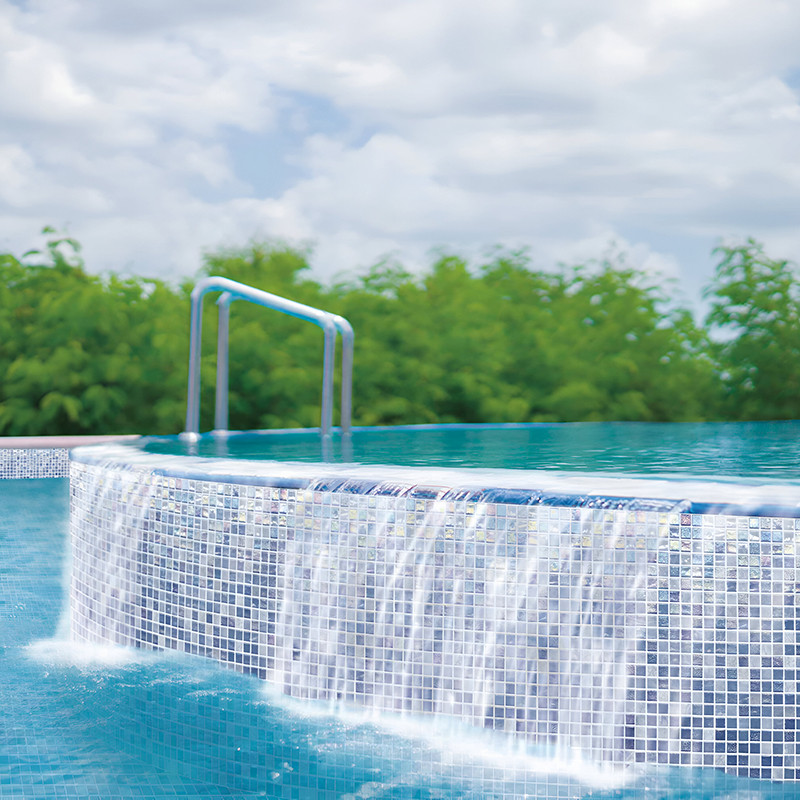
HOW TO INSTALL GLASS MOSAIC TILES IN A POOL: STEP BY STEP FOR A PERFECT RESULT
Glass mosaic tiles (gresite) are one of the most popular pool finishes due to their durability, water resistance, and aesthetic appeal. If you’re wondering how to install gresite in a pool or want to learn how to lay gresite in a pool efficiently, this guide provides a complete tutorial from preparation to finishing touches.
In this article, we explain how to lay gresite in a pool step by step, the tools and materials needed, and common mistakes to avoid for a professional finish.
NECESSARY MATERIALS AND TOOLS
Before starting, gather all materials and tools:
- Ceramic gresite suitable for pools
- Tile adhesive specific for pools (waterproof)
- Epoxy or cement grout waterproof
- Tile spacers
- Tile cutter or angle grinder with diamond blade
- Notched trowel
- Sponge and bucket of water
- Spirit level
- Protective gloves and glasses
The quality of the adhesive and grout is key to ensure the tiles withstand water and temperature changes.
SURFACE PREPARATION
The base must be clean, stable, and dry. Follow these steps:
- Remove any old coatings, paint, or dirt.
- Ensure the surface is level. If not, apply a levelling mortar.
- Slightly moisten the surface to improve adhesion.
A well-prepared surface prevents the tiles from detaching over time.
APPLYING THE ADHESIVE
To install gresite correctly:
- Mix the adhesive according to manufacturer instructions.
- Spread evenly with a notched trowel on small sections.
- Press tiles gently into the adhesive.
- Use spacers for consistent gaps.
Tip: Work slowly to avoid air bubbles under tiles.
CUTTING GRESITE FOR CORNERS AND DETAILS
For corners, steps, or around lights, cut tiles carefully:
- Use a tile cutter or angle grinder with diamond blade.
- Always wear glasses and gloves.
- Measure twice, cut once; small tiles are delicate.

GROUTING
After the adhesive dries (usually 24 h), grout the joints:
- Prepare epoxy or cement grout.
- Spread with a rubber spatula, filling all joints.
- Clean excess with a wet sponge before complete drying.
Epoxy grout is recommended for chlorinated or saltwater pools.
DRYING AND FILLING
Let adhesive and grout dry completely as per instructions (24–72 h) before filling the pool.

COMMON MISTAKES
- Applying adhesive on wet or unstable surfaces.
- Not respecting drying times before grouting or filling with water.
- Using non-waterproof or low-quality grout.
- Not using spacers, resulting in irregular joints.
CONCLUSION
Installing gresite requires time, precision, and proper materials. This guide allows you to do it yourself or supervise a professional. Each step ensures a durable finish.
Explore our pool tile selection at swimming pool tiles.
Related posts
