


How to Lay Herringbone Tiles: Step-by-Step Guide
The herringbone pattern is one of the most popular trends in ceramic coverings. Its installation brings dynamism and sophistication to any space, from bathrooms and kitchens to living rooms and terraces. In this guide, you will learn how to lay herringbone tiles correctly, step by step, with technical advice, necessary materials, and key warnings.
Although this type of installation may seem complex at first glance, it can be done accurately by following some basic guidelines. Whether you want to transform a dull wall into a focal point or add an elegant touch to the floor, the herringbone pattern is an excellent option to achieve it. Also, knowing the most common mistakes and how to avoid them will save you time, effort, and materials during the installation process.
Throughout this article, you will discover not only how to apply this technique correctly but also the aesthetic and functional advantages it can bring to your home. Let’s get started!


What Is the Herringbone Pattern?
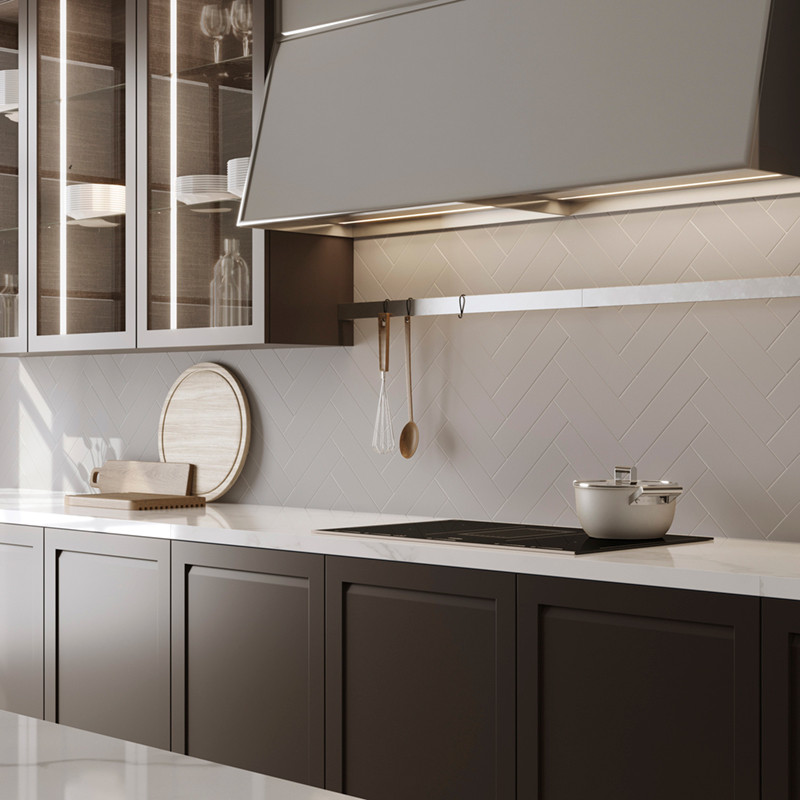
It is an arrangement of rectangular pieces set at a 45º or 90º angle forming a "V". This design has centuries of history, traditionally used in wooden floors, but nowadays it perfectly adapts to ceramic herringbone tiles. Its versatility makes it ideal for creating visual depth and movement on walls or floors.

Necessary Materials
- Rectangular ceramic tiles
- Cement adhesive
- Tile spacers
- Notched trowel
- Rubber mallet
- Bubble level
- Tile cutter
- Grout
- Sponge, bucket, pencil, tape measure
Planning and Preparation
Before laying herringbone tiles, it is essential to properly prepare the surface:
- Cleaning: remove dust, grease, and old adhesive residues.
- Substrate inspection: it must be level.
- Waterproofing: in wet areas, apply a membrane.
Do a dry run to anticipate cuts and adjustments. Mark a central guide line as a reference.
Laying the Herringbone Tiles
Installing herringbone tiles requires technique and precision:
- Spread the adhesive with the notched trowel.
- Start from the center with the first "V" of the pattern.
- Place each piece pressing with the rubber mallet.
- Use spacers to ensure regular joints.
- Constantly check alignment and leveling.


More Cuts, More Waste
A downside to herringbone tiling is the greater material waste. Cuts generate more scraps than straight patterns. Purchase between 15% and 20% extra tiles.
Grouting and Finishing
Once the adhesive is dry, apply grout diagonally. Clean residues with a damp sponge. For wet areas, apply a sealer after 72 hours.
Professional Tips
- Buy tiles from the same batch.
- Use flexible adhesive if the format is long.
- On floors, leave minimum joints of 2 mm.
- Ideal for small spaces due to its visual effect.
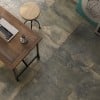
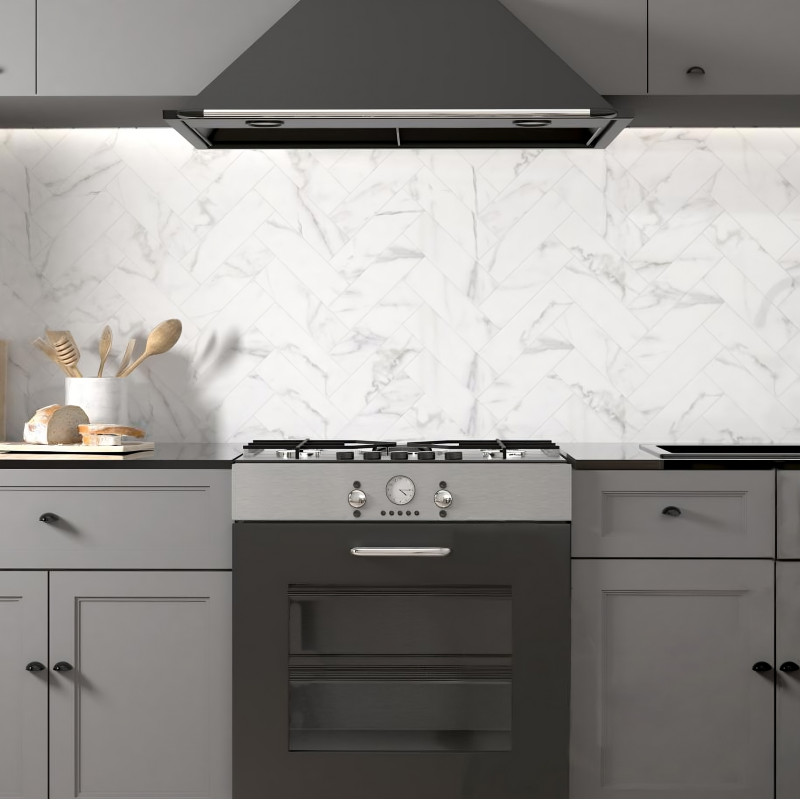
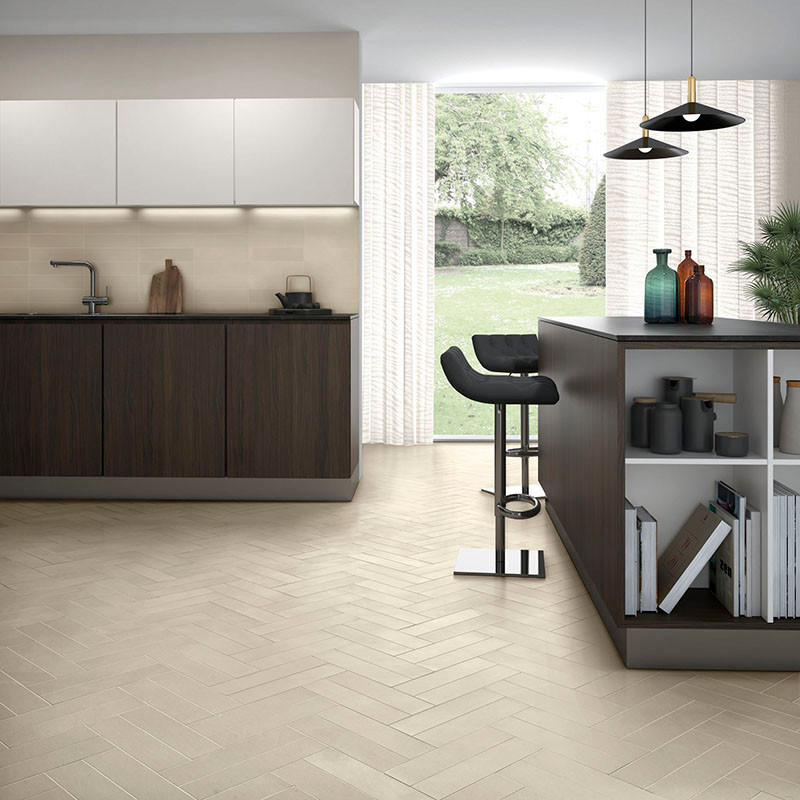
Where Does the Herringbone Pattern Work Best?
The herringbone design on walls is ideal for kitchens, showers, and sinks. On floors, it stands out in entryways, hallways, and living rooms. It adds direction and visual style.


Conclusion
Knowing how to lay herringbone tiles properly can make a difference. This pattern requires precision, planning, and quality materials. At Ceramic Connection, we offer advice and products to help you achieve it.
Related posts
