






Drilling into tiles is one of those DIY jobs that goes wrong more often than not when you don't use the right tool or technique. Picking the wrong tile drill bit, leaving the hammer function switched on, or pressing too hard can crack the tile in a matter of seconds. The good news is that with the right bit and the correct method, you can get a clean, precise hole even on high-hardness porcelain tile.
How to choose the right drill bit for your tile
Choosing the right tile drill bit is the single most important factor in avoiding breakage. Every material calls for a specific tool. Using a standard masonry bit on a full-body porcelain tile will barely scratch the surface while wearing down the bit fast.
| Tile type | Hardness | Recommended bit | Hammer function |
|---|---|---|---|
| White-body ceramic tile | Low | Carbide-tipped masonry bit | No |
| Glazed porcelain tile | Medium-high | Carbide bit made for ceramic | No |
| Full-body porcelain tile | Very high | Diamond bit or diamond core bit | No |
| Natural stone (marble, travertine) | Variable | Diamond bit | No |
| Zellige and handmade ceramic | Low (delicate glaze) | Carbide bit at very low speed | No |
Not sure what type of tile you have? Tap the surface gently with a coin. A hollow sound usually points to traditional ceramic tile, while a denser, duller sound tends to mean porcelain. Most bathrooms renovated in recent years feature porcelain bathroom tiles, whether glazed or full-body.
If you still have the manufacturer's spec sheet, you can identify the material easily from its PEI rating or its hardness on the Mohs scale.
Cost is also worth factoring in. A good-quality diamond bit typically runs €15 to €50. If you only need to drill one or two holes, it's worth weighing that cost against the risk of cracking a tile that's hard to replace.
Getting ready to drill
Check that the tile is properly bonded
Before you start, tap the spot lightly with the handle of a screwdriver. A hollow sound means the adhesive didn't fully cover the surface underneath, which raises the risk of cracking while drilling. In wet areas like showers or bathrooms, even a small crack can let water in and cause hidden damage behind the tile.
Mark the drilling point properly
Stick a piece of painter's tape right where you plan to drill, then mark the spot with a pencil. The tape gives the bit a slightly rough surface to grip so it doesn't slip on the glaze during the first few seconds of drilling. Skip this step and the bit can easily wander and scratch the tile.
Always turn off the hammer function
This is probably the single most important rule. Most drills come with the hammer setting on by default, meant for drilling into concrete or brick. Drill into a tile with that function switched on and the vibrations will crack it almost instantly.
Double-check that the hammer function is off before you begin. Only switch it back on once you've drilled all the way through the tile and are moving into the substrate behind it, and only if that substrate is concrete or brick.
How to drill a tile step by step
The process is basically the same regardless of tile type. What changes is the drilling speed and whether you need to cool the bit down on harder materials.
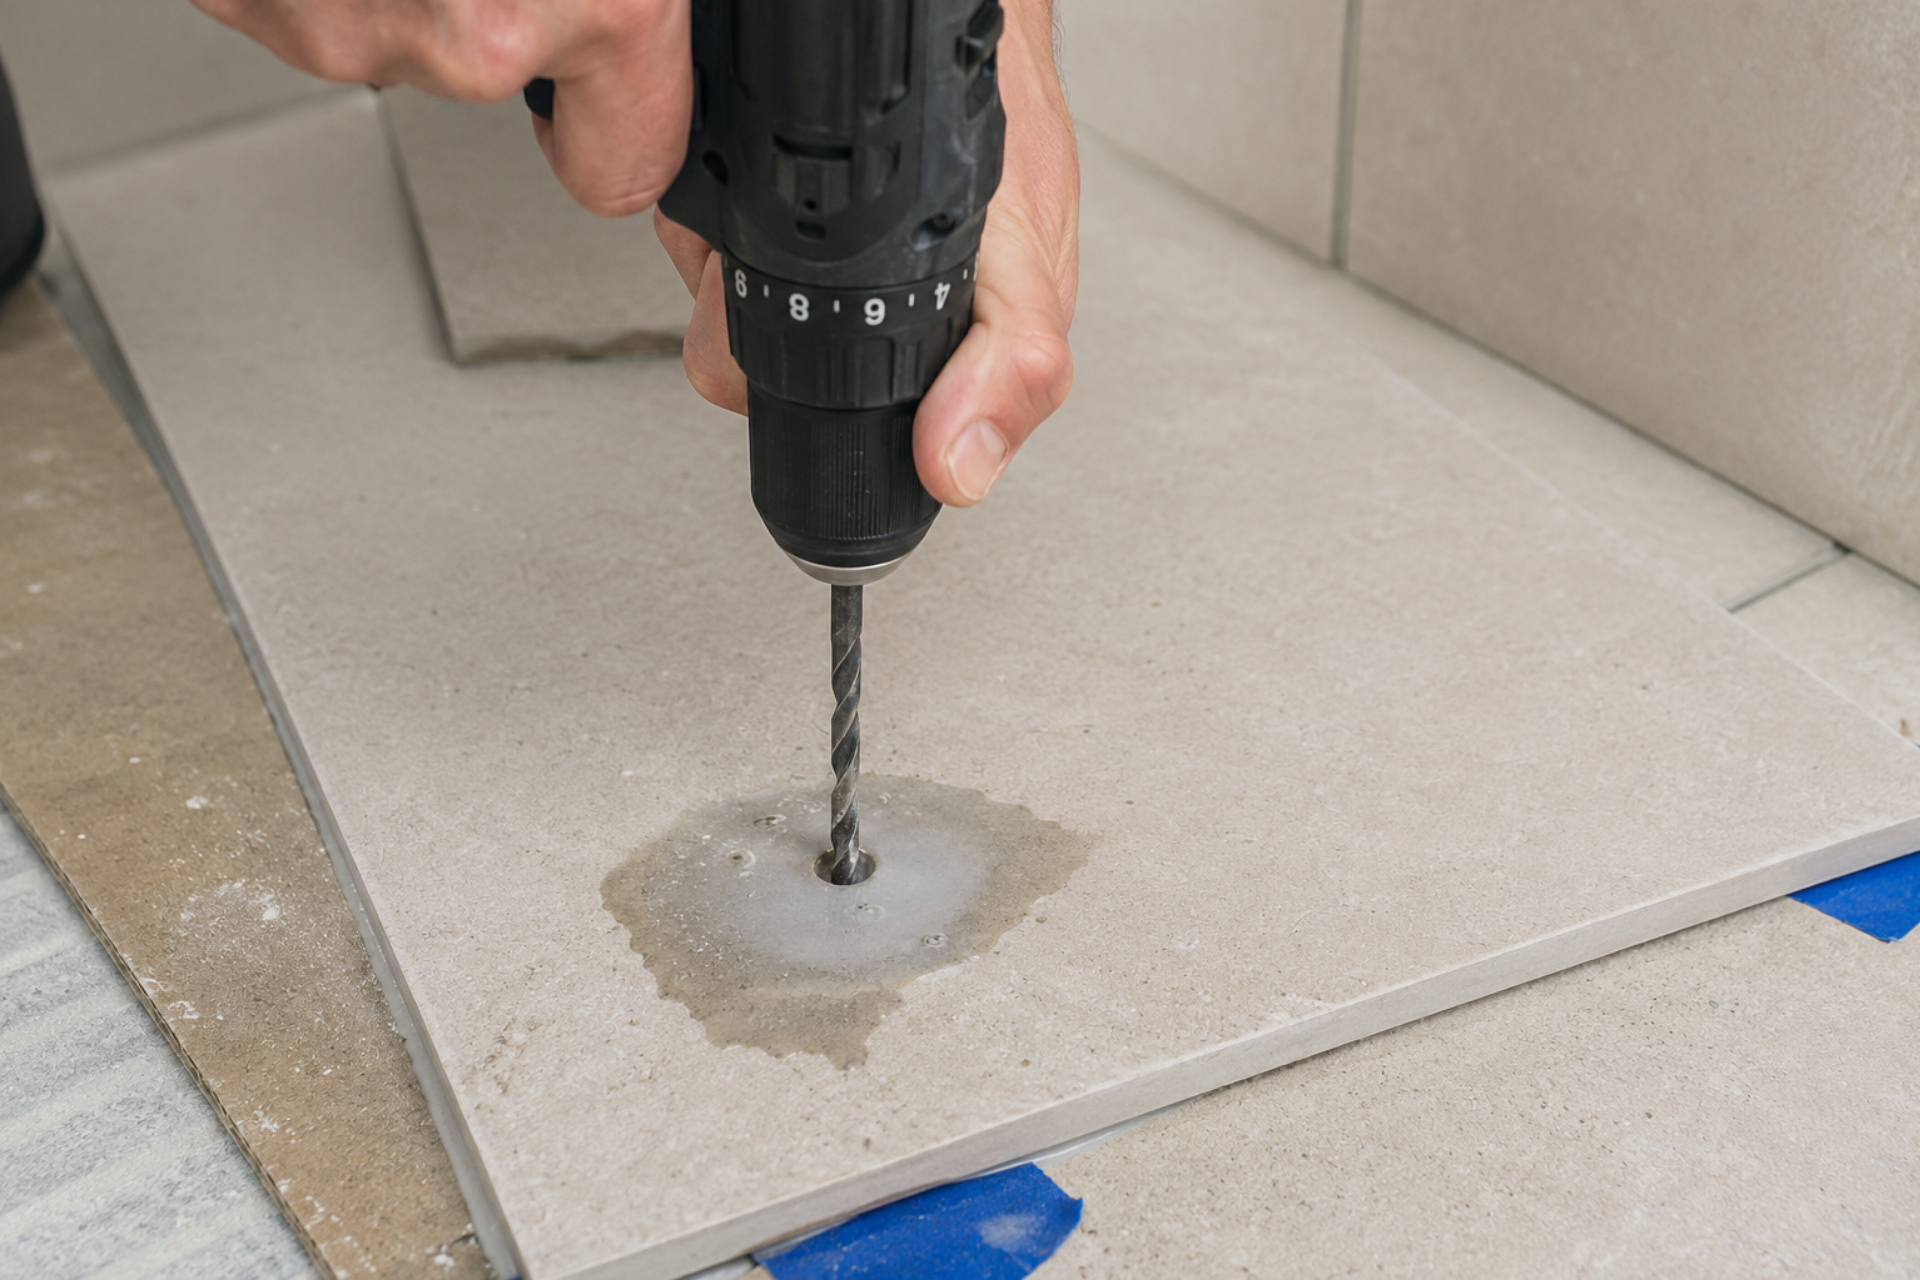
- Start slow. Hold the bit perfectly perpendicular to the surface and start turning very slowly to create a small starter mark on the glaze. These first few seconds determine how accurate the hole will be.
- Pick up speed gradually. Once the bit is settled into that starter groove, you can increase the speed a bit. Don't push hard; let the bit do the cutting rather than forcing it.
- Cool the bit on porcelain and natural stone. These materials generate a lot of heat from friction. Spray a little water every 10-15 seconds to keep things from overheating. If the bit starts smoking or changes color from the heat, stop right away and let it cool down.
- Once you've drilled through. When you feel the resistance drop off, you've made it through the tile. Clear away the dust and switch to a bit suited to whatever's behind it (drywall, concrete, brick, etc.).
On especially thick tiles, it can help to drill about halfway through from the front, then finish the hole from the back. This cuts down significantly on chipping where the bit exits the tile.
Related posts
