


HOW TO TILE A SWIMMING POOL: A STEP-BY-STEP GUIDE

How to Tile a Swimming Pool: Materials, Steps, and Key Tips
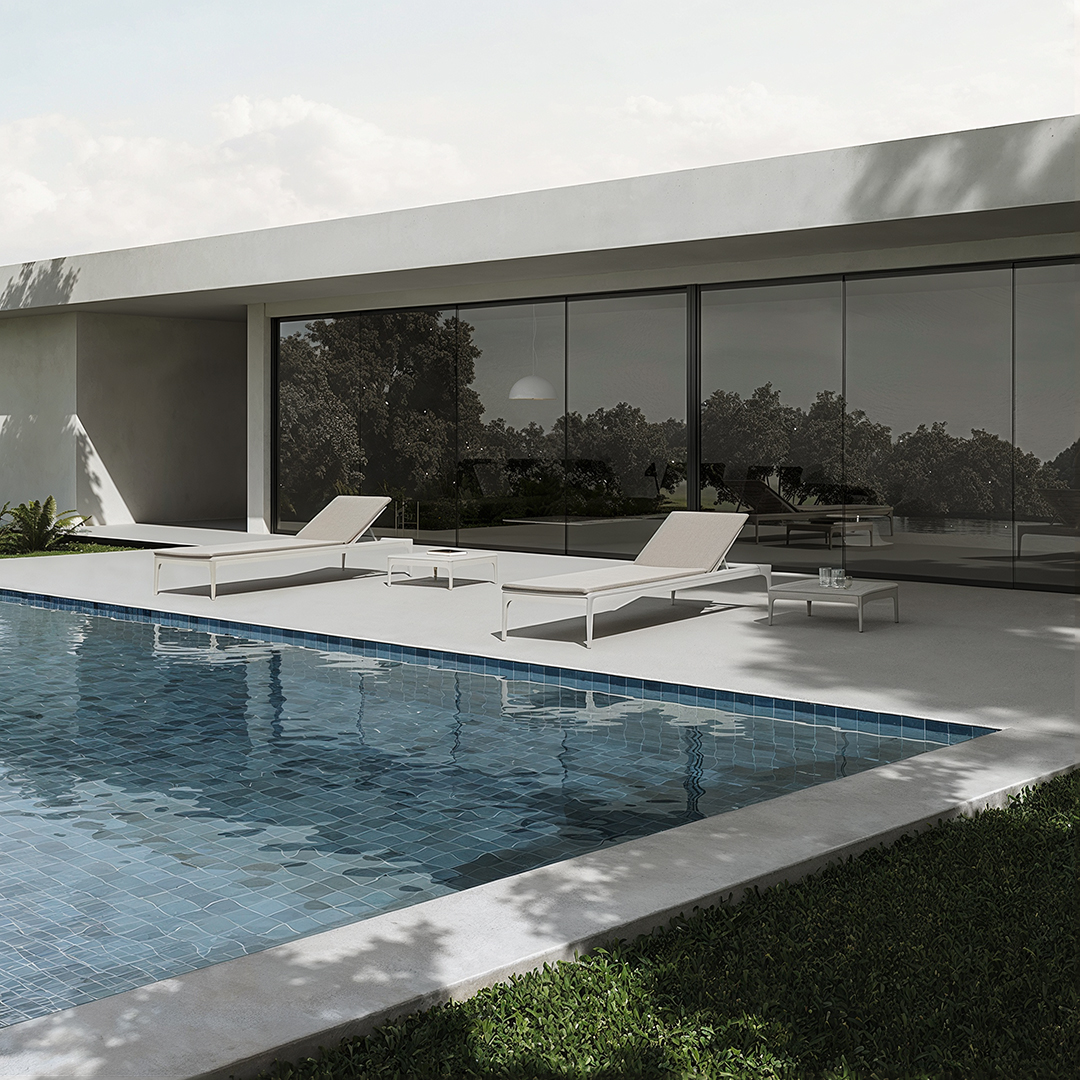
Tiling a swimming pool correctly is just as important as its construction. A well-executed finish ensures waterproofing, safety, and a surface that will last for decades. In this guide, we explain everything: materials, installation techniques, and grouting.
Before You Start: Planning and Budget
Before buying any tiles, define three key variables: the pool design, its dimensions, and your available budget. These choices will determine the materials you select and the final result.
If your pool is already several years old, don’t wait until leaks appear or the surface deteriorates visibly. Plan renovations off-season — spring or autumn — when labor costs are lower and timelines shorter.
Practical tip: Tiling a pool during peak summer season can increase the budget by 20–30% compared to off-season installation.
Materials for Tiling a Pool
Not all pool finishes are the same. Each material has its own resistance, aesthetic, and maintenance characteristics. The most commonly used are:
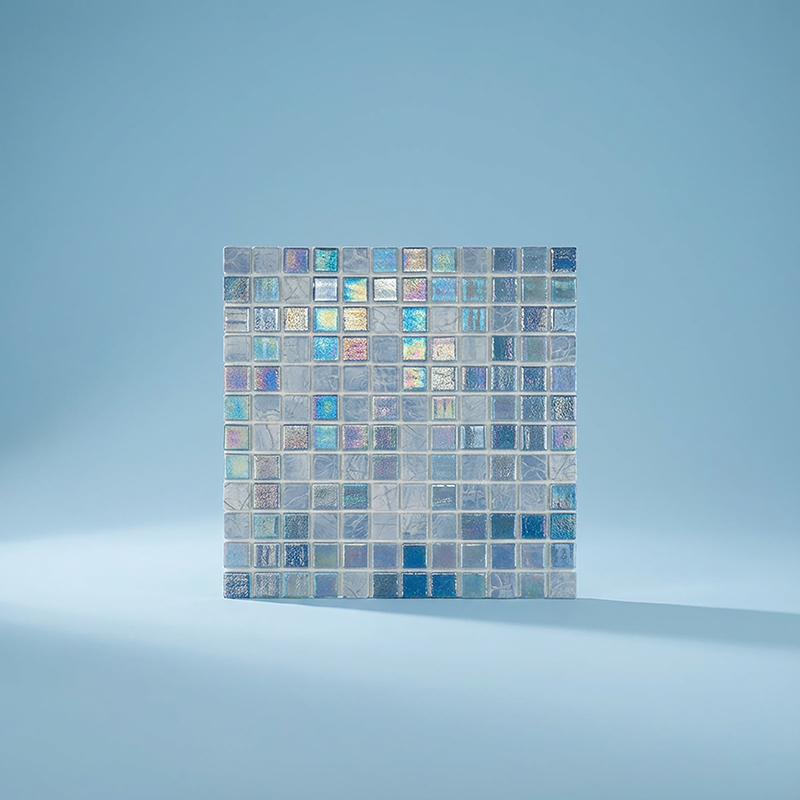
- Gresite (Venetian mosaic): 2×2 to 4×4 cm pieces on 30×30 cm mesh sheets. Very resistant to humidity, temperature changes, and chemicals. Wide variety of colors and designs.
- Porcelain tile: Almost zero water absorption. Available in large and small formats, combinable in the same pool. Very hygienic and slip-resistant.
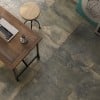
- Natural stone (travertine, slate, limestone): Luxurious, organic look. Requires prior waterproofing and periodic sealing to protect color and durability. Choose low-porosity varieties resistant to moisture cycles and drying.
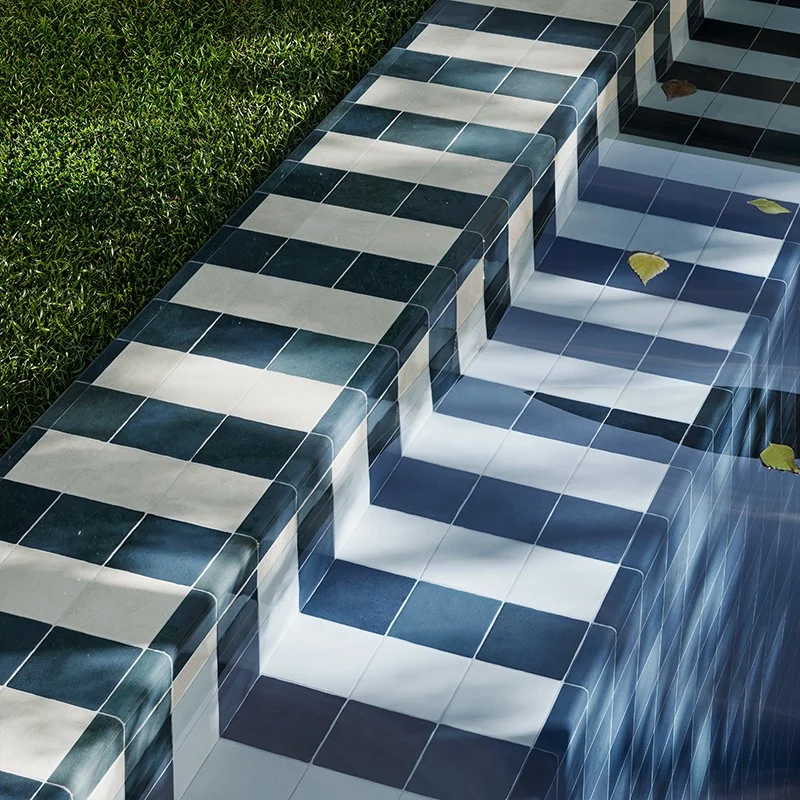
Gresite: the Classic Choice
Also called venecita or Venetian mosaic. Its small format makes it ideal for curved surfaces and complex decorative combinations. Fiberglass is incorporated during manufacturing to ease installation.
Key: maintain the same spacing between mesh sheets as the internal joints for a perfectly uniform finish.

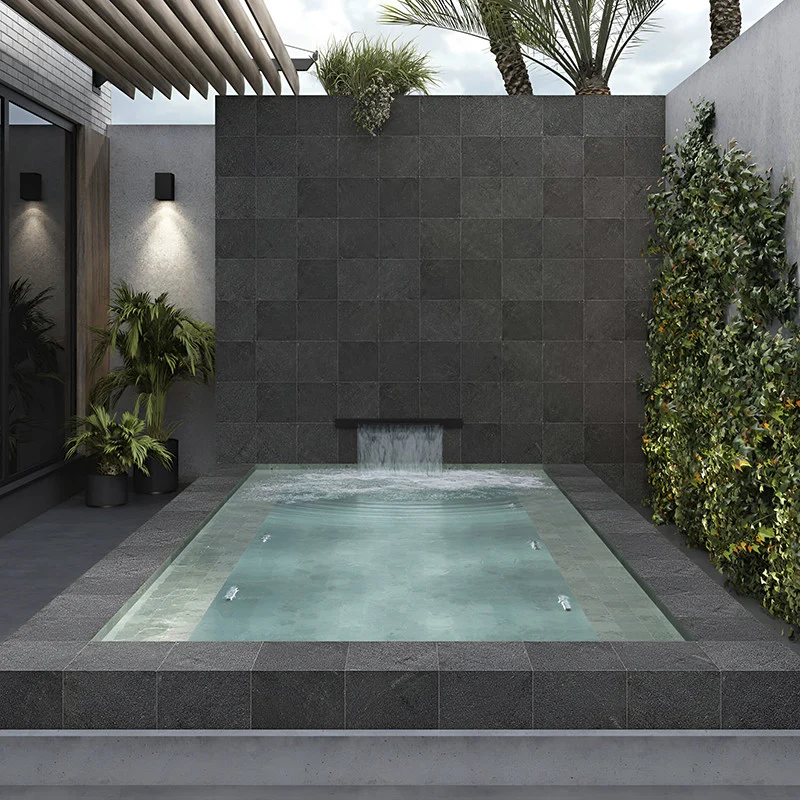
Porcelain Tile: Versatility and Safety
Allows the use of large formats without compromising waterproofing. As it does not absorb water, it reduces mold and bacteria growth. Make sure tiles are slip-resistant, especially on edges and steps.
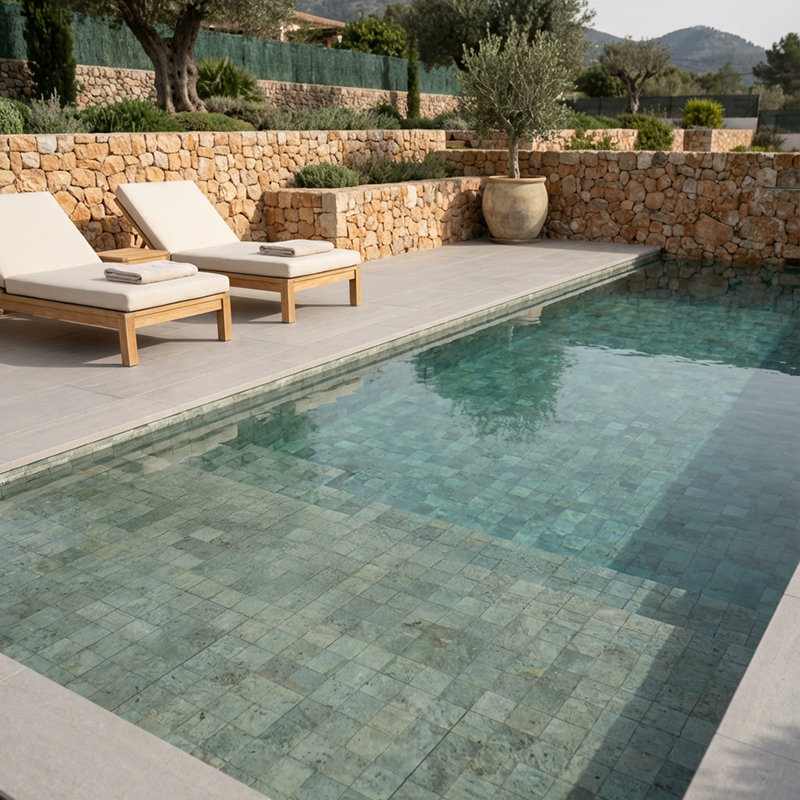
Natural Stone: The Most Exclusive Finish
Materials like Bali stone require face-to-face waterproofing before installation and periodic sealing to protect against chlorine and lime deposits.
Tip: apply water repellent on both the back and front of each piece before installation, and renew the seal every 1–2 years. Not all stones are suitable; choose low-porosity stones resistant to moisture and drying cycles.
How to Tile a Pool Step by Step
- Pre-waterproofing: Apply a waterproof membrane to the entire surface, paying attention to corners, expansion joints, and floor-wall junctions. Without proper waterproofing, no tiling will hold.
- Specific adhesive: Certified cement-based adhesive for permanent immersion (C2 TE S1 or higher), applied on both the substrate and the back of the tile (double bonding).
- Tile placement: From the center outwards; for walls, from bottom to top. Use spacers and frequently check level.
- Setting time: Let the adhesive cure for 24–48 h before grouting; do not walk on or wet the tiles.
- Grouting: Apply grout diagonally, removing excess. Minimum curing time: 7 days before filling the pool.
Grouting: a Vital Step
Grout is part of the pool’s waterproofing system. Main options:
| Type | Advantages | Disadvantages |
|---|---|---|
| Cement-based (CG2 WA) | Wide range of colors, easy to apply, lower initial cost | Requires periodic maintenance; wears due to water erosion |
| Epoxy | No maintenance needed, highly resistant to chemicals and moisture | Higher cost, more demanding application, limited working time |
General recommendation: epoxy grout, periodic cleaning only, no renewal required.
Remember: Wait at least 7 days after grouting before filling the pool.
Conclusion
Tiling a swimming pool requires precision: proper waterproofing, correct adhesive, careful placement, and accurate grouting. Choosing the right materials — gresite, porcelain, or natural stone depending on budget and style — and using products specifically designed for immersion ensures a durable and safe finish for decades.
Related posts
