


Tiling a bathroom is one of those home improvement projects that most of us will face at some point, but few people know how to do it easily. Replacing bathroom tiles can actually be a fun and simple task—if you know how to do it right. That's why we want to share 7 tricks and tips for any type of bathroom renovation.
1. Plan and design the project
The first step is to plan and design your bathroom renovation. Take measurements and decide which walls will be tiled. With this preliminary planning, the process becomes much easier and the results far better.
2. Prepare the surface
After measuring the bathroom and the walls, prepare the surface. If the wall is clean and has no tiles, simply sand it until it’s as smooth as possible.
If there are already tiles, you'll need to remove them completely, clean the area thoroughly, and apply a leveling base.
Before tiling, make sure the wall is clean and completely dry.
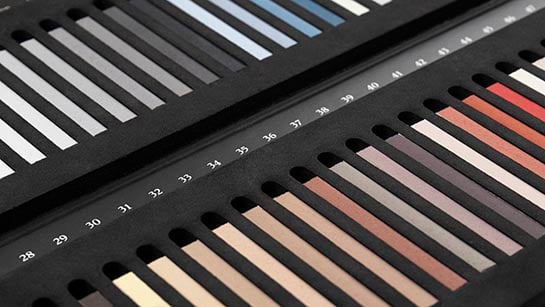
3. Choose quality tiles
At Ceramic Connection, you'll find all kinds of tiles: from small, bold formats to large, elegant ones. With a little time, you’ll easily find the perfect style for your project.
4. How to lay the tiles
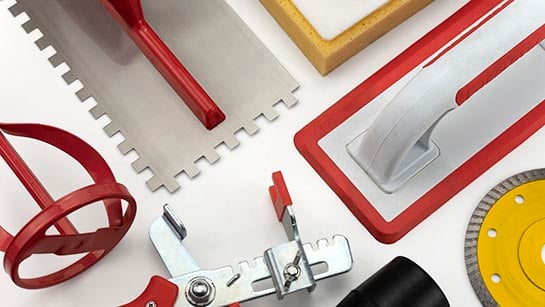
Once you've chosen your tiles and prepared the wall, it's time to get started. Use the right tools (here are some recommendations) to apply the tile adhesive correctly.
Always start from the bottom up, never from the middle of the wall. Calculate how many tiles you’ll need to avoid unnecessary cuts and uneven lines.
5. Apply the tile adhesive
Tile adhesive is a key part of the process. Follow the manufacturer’s instructions when preparing it.
Spread the adhesive on the wall using a notched trowel.
Then apply about 1 cm of adhesive to the back of each tile.
Set the tile in place and use spacers to keep the joints evenly spaced.
6. Grout and apply silicone
Grouting is essential for a perfect finish.
Fill all the joints with the appropriate grouting material.
It's also recommended to apply silicone in expansion areas and corners of the bathroom.
7. Finish the tiling
Once the grout has dried, clean the surface with circular motions using a sponge or mop with water and soap. Finish by wiping with a damp cloth to remove any remaining adhesive residue.
Related articles you may like
Related posts
